Showing posts with label Holiday. Show all posts

1.22.2012

Te Amo Time: Part 2

Here's a fresh new batch of Valentine's Day cards, hot off my desk! They are available for purchase at my Etsy shop, Handmade Wish

Feel free to ask me about custom cards! :)


1.16.2012

Te Amo Time!

Yep, Valentine's Day is on its way and I've got that special card for that special someone! Here are some samples, which can be personalized with custom illustrations and any colors you'd like.  A handmade card is the perfect finishing touch for any Valentine's gift!

Each card is created completely by hand on a 4"x5.5" white cardstock. I used gouache paint, colored cardstock, and x-acto knives to create the cards below.


12.16.2011

Brown Paper Packages!

I started to tackle my gift wrapping....I like to get crafty with it and make the package extra special! I think you may agree that tearing into a present is a hella ton more exciting than pulling tissue paper out of a used bag! Agree!?

For the wrapping paper I used the packaging paper that came with one of the gifts in the mail....I also used stamps, a vintage piece of lace, twine, and my trusty heat embosser! 
Simple and sweet, just the way I like it!...Get your creative minds in gear and give a specially wrapped package this Christmas...just say no to boring bags! 

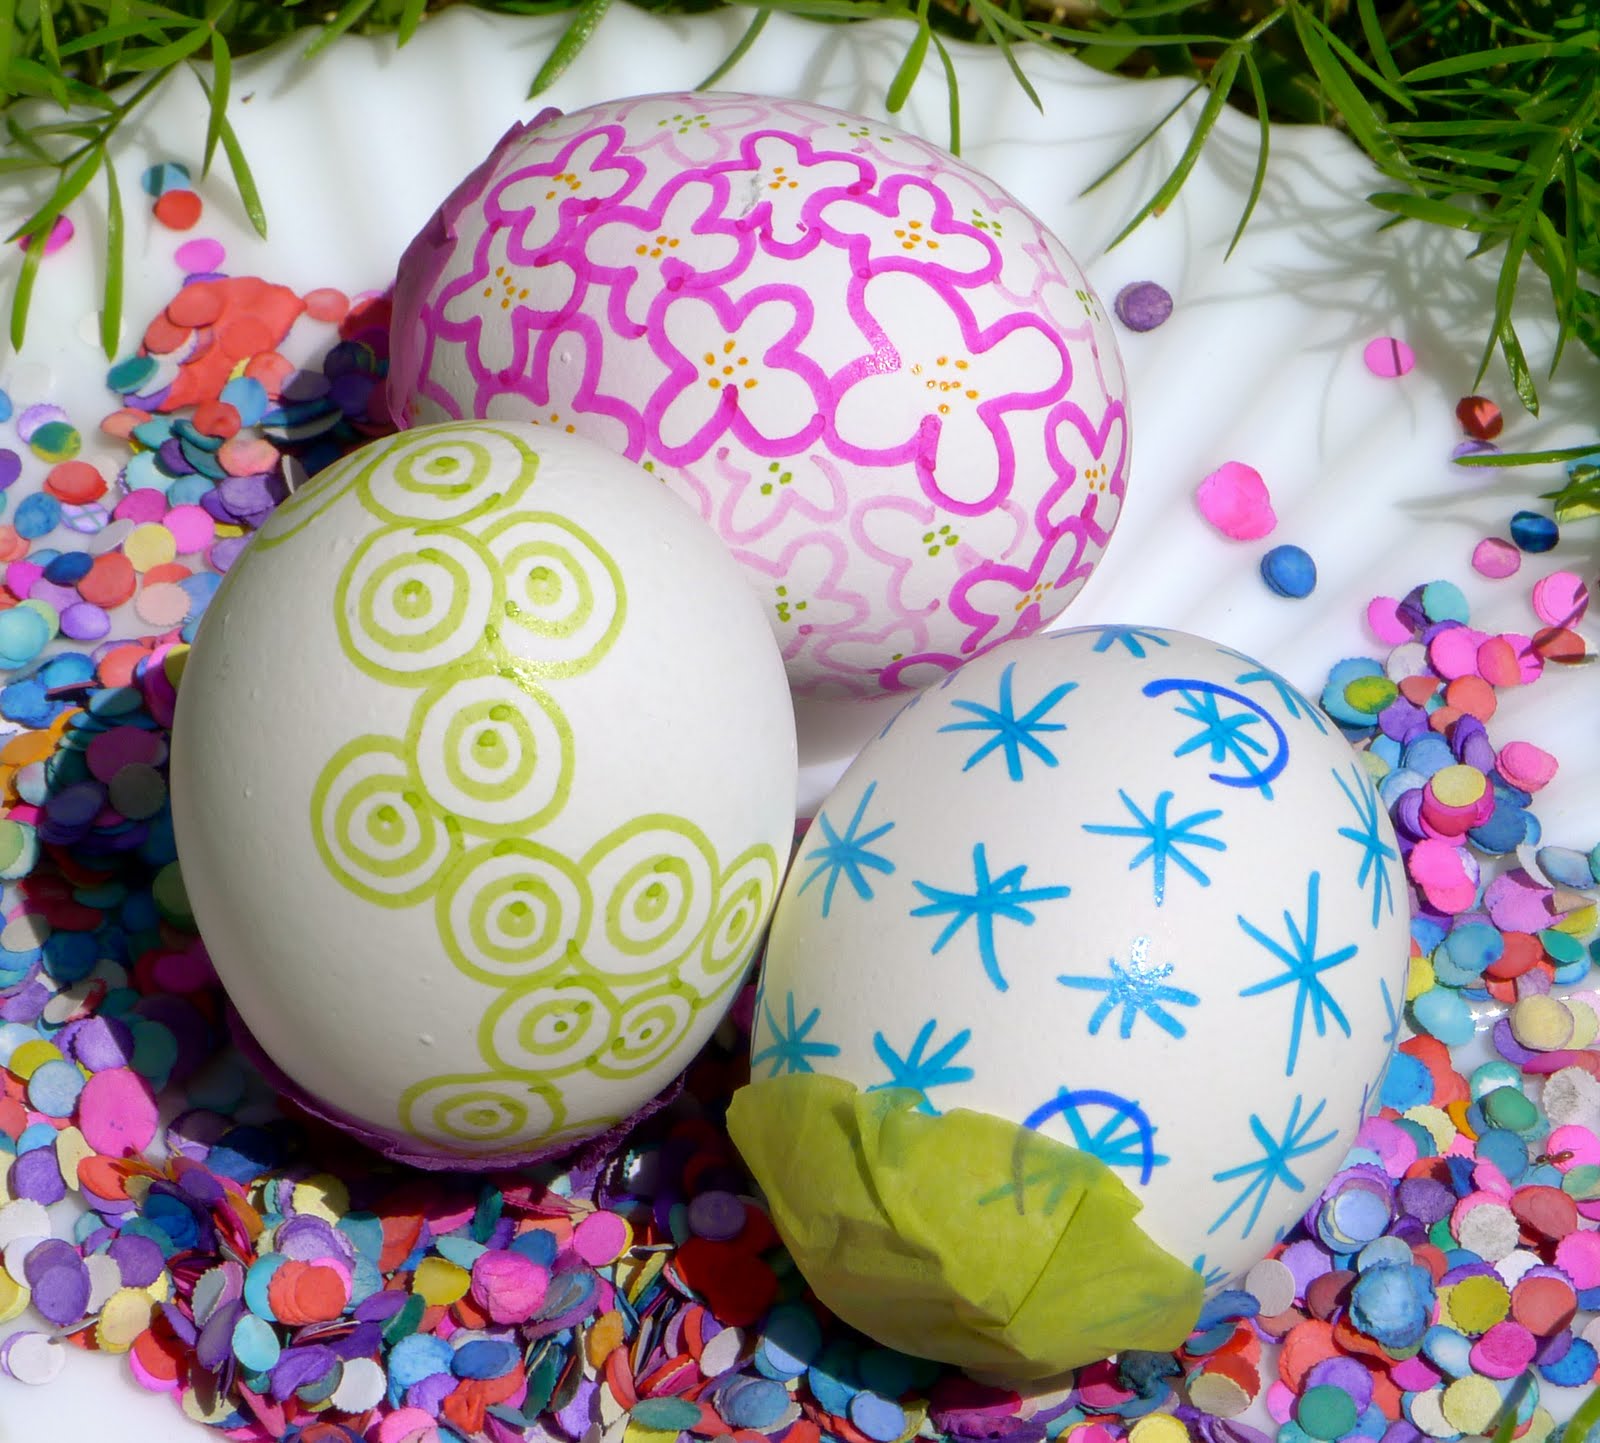
Photo Courtesy of my iPhone

12.15.2011

Christmas with Paloma's Nest

Take a look at these beautiful handcrafted ceramic ornaments from Paloma's Nest......even better is that these ornaments are all created in Austin, TX...USA! I adore the pure simplicity and personalization available. There is a ton more where this came from so click here!

Custom Messenger Bird Ornament - $34
Jingle All the Way - $28

Key for Santa - $36


11.28.2011

Cue the Christmas Music!

It's the most wonderful time of the year! :) Ahh, Christmas!....The music, the lights, the decor, the cheer, the goodwill and giving, the family, the love. It's beautiful!..... So, to spread some cheer and love, send your special friends and family a Handmade Wish

Check out my hand lettered, festive holiday cards!


11.21.2011

Mid Century Modern Adornments

I know Thanksgiving has yet to pass, but I could not resist posting these 60's inspired handmade ornaments! This Etsy shop is called Midwest Maude and features the cutest embellished wooden ornaments. If only I could afford a whole tree full of these!


White Jeweled Owl - $23

Black Jeweled Owl - $23

Pink Seahorse - $23

Jeweled Peacock - $21

Matryoshka Nesting Doll - $25


11.17.2011

Relay for Life Raffle!

Tomorrow at Citizens Federal Credit Union, here in Big Spring, a raffle will begin in conjunction with a bake sale to benefit The American Cancer Society and Relay for Life! The raffle winners will be chosen on the Friday, December 9. Tickets are $1 each or 5 for $4!.....if anyone is interested contact me or stop by Citizens!

These are the three holiday wreaths to be raffled off!.... I made each one different and unique....I think you need a raffle ticket!

White Winter Wreath - frosted Christmas greens, dried Eucalyptus,
sprigs of pearls, pearlized glass ball ornaments,  and small clear glass ball ornaments
 all accented with gold glittered ribbon
Christmas Forest Wreath - Gold Pinecones,  Christmas greenery,
bright red glittered berries,  large golden jingle bells,
bright red, sparkling spirals, red feathers, beaded accents and
gold glittered ribbon

Festive Gala Wreath - Glittered gold ribbon, glittered bright blue berries,
 Christmas greenery,  multi-colored beaded balls

10.31.2011

BOO!!

Sending scary and fun filled wishes to all of you on this beautiful Halloween day! My plans consist of watching a few Halloween flicks and passing out candy to the little trick or treaters!! Have a spooktacular one!

Here's a little vignette I styled this weekend! Everything I used is all thanks to Zac....I promise his house is anything but spooky!

Styled by me, Andrea Torres

10.18.2011

All Up in The Cupcake Mix...Vintage Style!

 I love watching all baking shows and showdowns on Food Network!  I always tell myself that I'll learn, but of course.....I never do! If and when that one day comes....aaand it happens to be Halloween....you better believe I'll be all up in the cupcake mix, using all these cute things, pretending to be domestic of some sort..... Follow the links below each photo to find out more!


Vintage Apron - Photo via Lover Dovers Clothing


Vintage Black Cat Cupcake Topper - Photo via Elizabethgrace
                                           

Halloween Cupcake Liner - Photo via Sweet Estelle's


Toffee Crunch Cupcake - Photo & Recipe via Bakerella
                                             

More Treats!


I painted two more Halloween greeting cards last night! The witch hat reminds me of the movie, Hocus Pocus :)....don't you just love that movie?!.....The card I painted with the bat is very reminiscent of Batman... Hope you like!


"Witchery," created by me


"Silhouette," created by me

10.16.2011

Treats for your Peeps!

With Halloween coming around the corner I thought it was time to make new greeting cards!.....I'm not too keen on blood and gore but I am keen on the treats, creative costumes, and handing out candy!

These two cards are hand illustrated and  painted with gouache on white cardstock....because a personal, handwritten card in the mail beats an email or text any day! 

"Halloween Skull" created by me, Andrea Torres


"Trick or Treat" greeting created by me, Andrea Torres

4.23.2011

Cascarones!

Cascarones aka confetti eggs have been a festive Easter tradition in our family ever since I can remember. These confetti filled eggs are a hit with everyone! What you do is sneak up on an unsuspecting person and break the egg over their head so that the confetti spills all over them! Having a cascarone broken over your head is said to bring good luck.......so bring on the luck!!

To make cascarones:
1. Gently tap a small hole on the top 
2. Empty the egg yolk into a bowl or sink
3. Rinse out the inside of the egg thoroughly 
4. Let dry
5. Decorate the egg with markers, dye, paper, glitter..... the possibilities are endless!
6. Fill with confetti
7. Cover the hole with a circular piece of tissue paper and glue in place

Our family loves making them colorful and beautifully decorated! I decorated these to share with you.